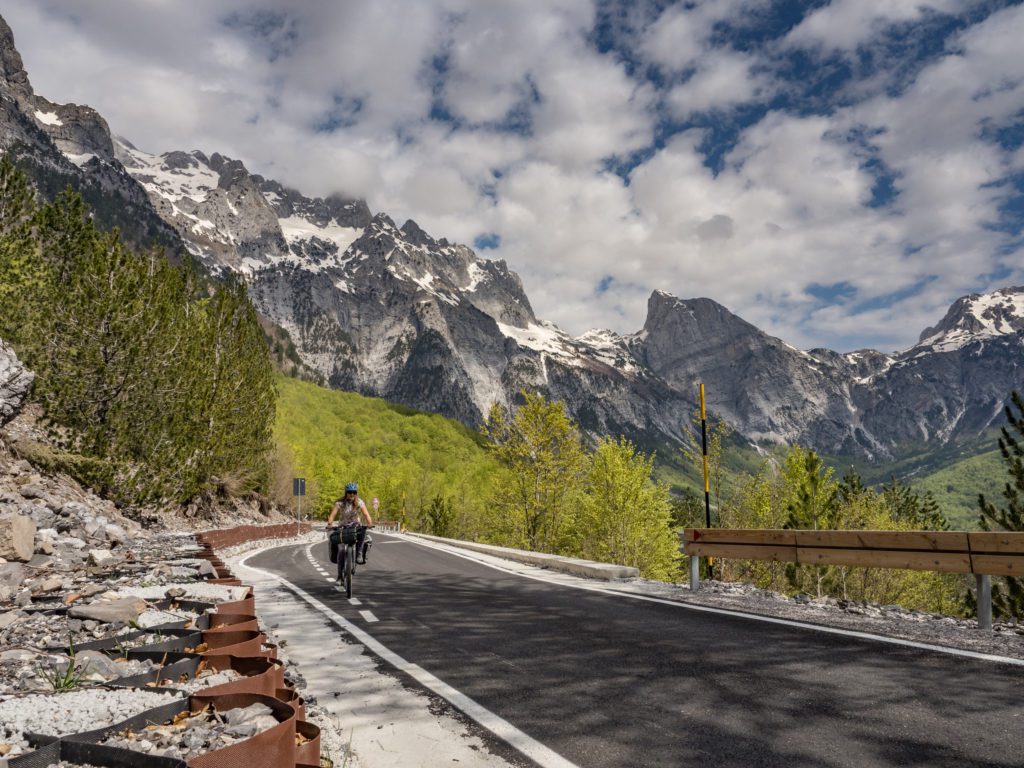
Do you want to bring better photos from your bicycle tour that will bring back memories when you look at them in 20 years? It’s not as difficult as it seems. Learn the tricks to take your bike touring photography to the next level!
This article is not for photography masters. I am not going to discuss advanced camera settings and artsy details. But if you constantly come back from your trips with boring selfies and static shots of your bike everywhere, have a sit, get some coffee and read my essential tips on improving your bike touring photos.
Why do you want better bike touring photos?
There are plenty of reasons you might be searching for tips on improving your travel photography skills and bringing better pictures from your bicycle adventures. Maybe you have a travel blog or share your stories on Instagram. Perhaps you want to submit a trip report to the local newspaper or a cycling magazine. Or maybe you’re simply sick and tired of me and my bike selfies and want photos that will better capture the time of your life cycling in remote areas.

Creating photographs reflecting your journey’s true spirit and beauty takes time and effort. But everybody can learn to take better travel pictures.
What camera gear should you bring on your bike tour?
GoPros, drones, professional cameras or simply a smartphone – there are plenty of tools people use to capture their bicycle adventures. Looking at Instagram, it’s easy to get caught up in the race after the best and most advanced gear.
On the other hand, carrying too much photo equipment on a bike slows you down. You want to save as many kilograms as possible. Another issue is charging all the electronics, especially if you are wild camping and travelling through remote areas.
Having an expensive camera is less important than you think. I won’t elaborate on it too much. Here is a concise summary of camera options you can consider for your trip.
Smartphone
A smartphone with a good camera is a terrific way to start photographing your bicycle adventures. I know many people who use their phones as their only camera.
But can you take good bike touring photos with just a smartphone?
Modern smartphones have pretty good cameras. The best ones can give you results comparable with traditional cameras, thanks to quality lenses and apps allowing you to adjust settings manually.
If you’re new to photography, don’t spend an atrocious amount of money on a new camera. Instead, get to know your smartphone camera better, explore the manual settings and make the best out of it.
Pros of taking your bike touring photos only with your smartphone:
- Light and doesn’t take extra space.
- Easily accessible, especially if you have your phone on a handlebar mount.
- Easy sharing with others.
- It’s cheap (and you probably already spent too much on the bike-touring stuff anyway!).
Cons of taking your bike touring only with your smartphone:
- Depending on your phone, the quality can be lower than photos taken with a DSLR or mirrorless camera, especially in the dark.
- You have only one device for navigation, staying in touch with friends and family and taking pictures which means high battery consumption.
- The ease of taking photos with your phone can make it less thought-through.
Traditional camera (DSLR or mirrorless)
Once you get into photography and explore its joys and excitements, photographing with your phone might feel limiting. I’d been into photography long before I started travelling by bike, so it was never a question of whether or not to bring my camera along.
What camera do I use for bicycle touring?
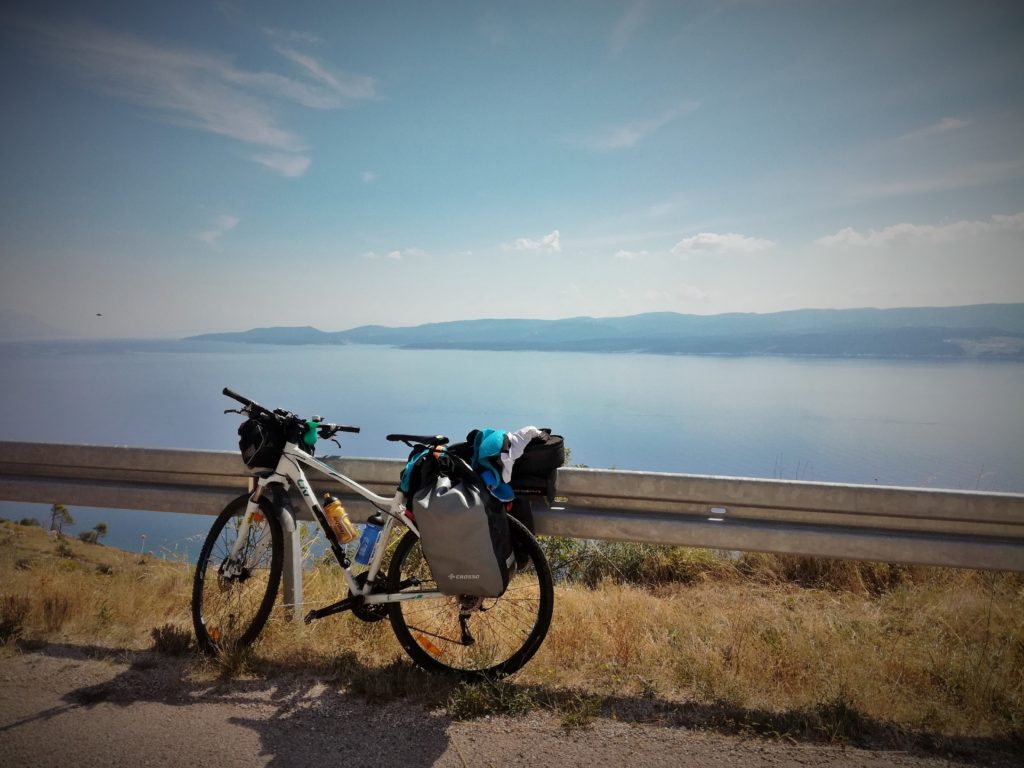
When I started touring, I used an amateur DSLR camera – Canon 550D -with a cheap kit lens (18-55 mm). I had a longer telelens at home, but I never brought it on bicycle tours, as it was too much to carry.
After ten years, some functions stopped working, and I felt it was time to upgrade. I decided to replace a DSLR with a mirrorless one as the bulky size of my old camera was one of the factors that annoyed me the most while cycling.
Last year, I bought an Olympus EM-5 mark III with a 12-40mm lens. It’s one of the best cameras for bicycle touring and outdoor adventures.

The body is light and compact but at the same time sturdy and weather-sealed. The latter was the crucial factor that made me pick Olympus over other cameras I looked into, like Fujifilm XT3. I didn’t want to worry too much about my camera while cycling in the rain, wind and cold.
Another advantage is good image stabilisation. This camera also has Wi-Fi allowing me to directly upload photos to my phone and share them with friends and family. I also appreciate that I can charge it via a regular micro USB cable making it easy to power the camera through my solar panel.
The biggest downside? Short battery life. I had to charge my camera at least every other day.
GoPro
A GoPro or other action camera is a great tool to get POV shots that make the viewer feel like in your skin. I wouldn’t invest in a GoPro if you only plan to take photos, but if you only want to bring videos from your trip, it might be worth having.
It’s small and light, so it won’t add too much load to your luggage, and you can install it on your helmet or handlebar and shoot photos and videos right when the action happens.

Drone
I’ve never carried a drone on my bicycle tours, but I always enviously look at drone photos of other travellers. Few other shots capture the grandiosity and freedom of cycling through the majestic landscape than the bird’s eye view.
Carrying a drone on your bicycle tour will be especially worth it if you’re also filming your adventure.
Remember that setting it up and taking pictures takes more time than you imagine. It is also illegal to bring a drone in some countries, like Iran, Cuba, Morocco, Egypt, Uzbekistan or Kyrgyzstan.
Accessories
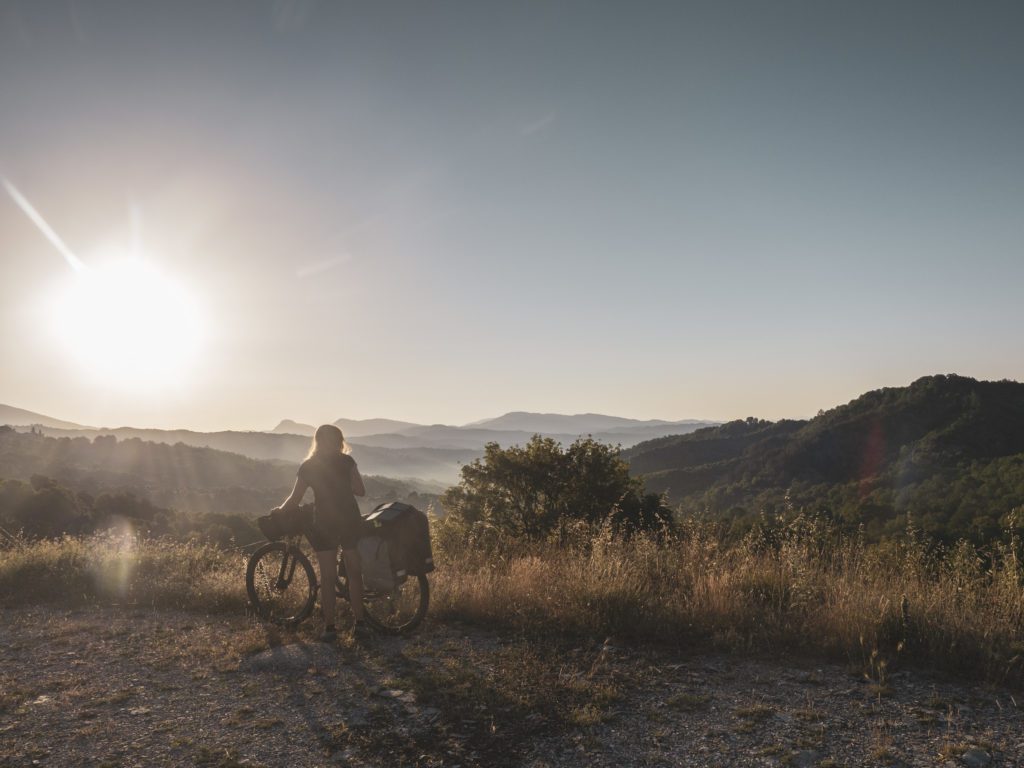
Tripod
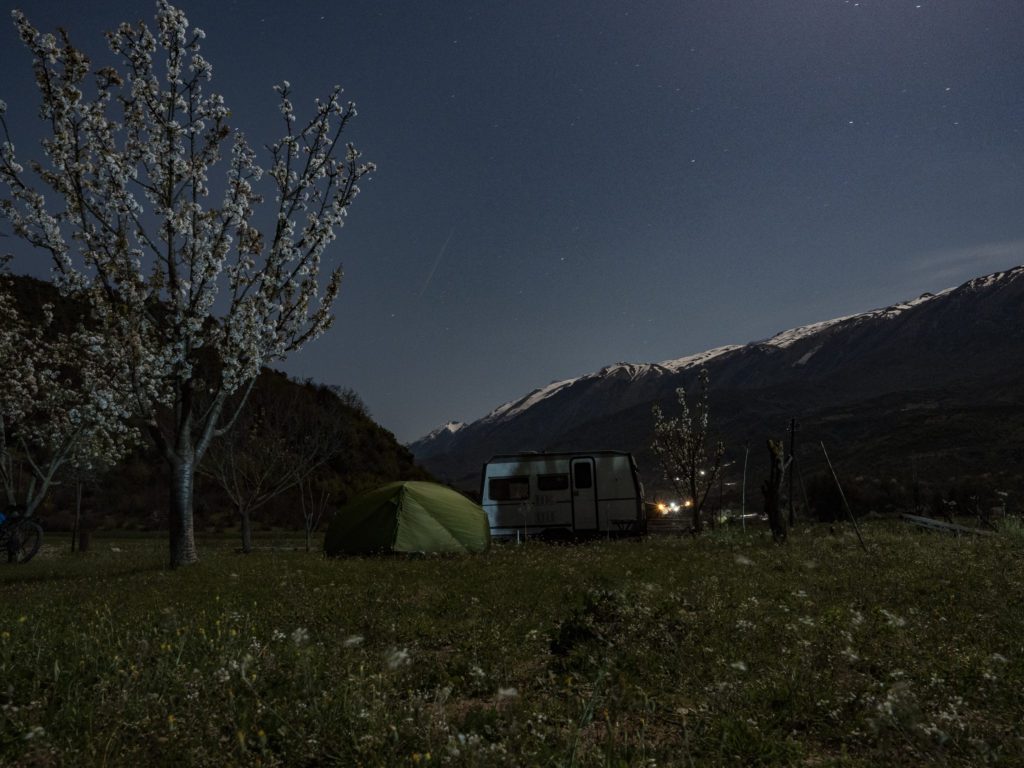
A must-have if you travel alone. A tripod will allow you to be your own photographer. It also ensures better landscape photos, especially in low light. Have you ever seen those stunning shots of a tent under the starry sky? If you want to have them in your gallery, bring a tripod.
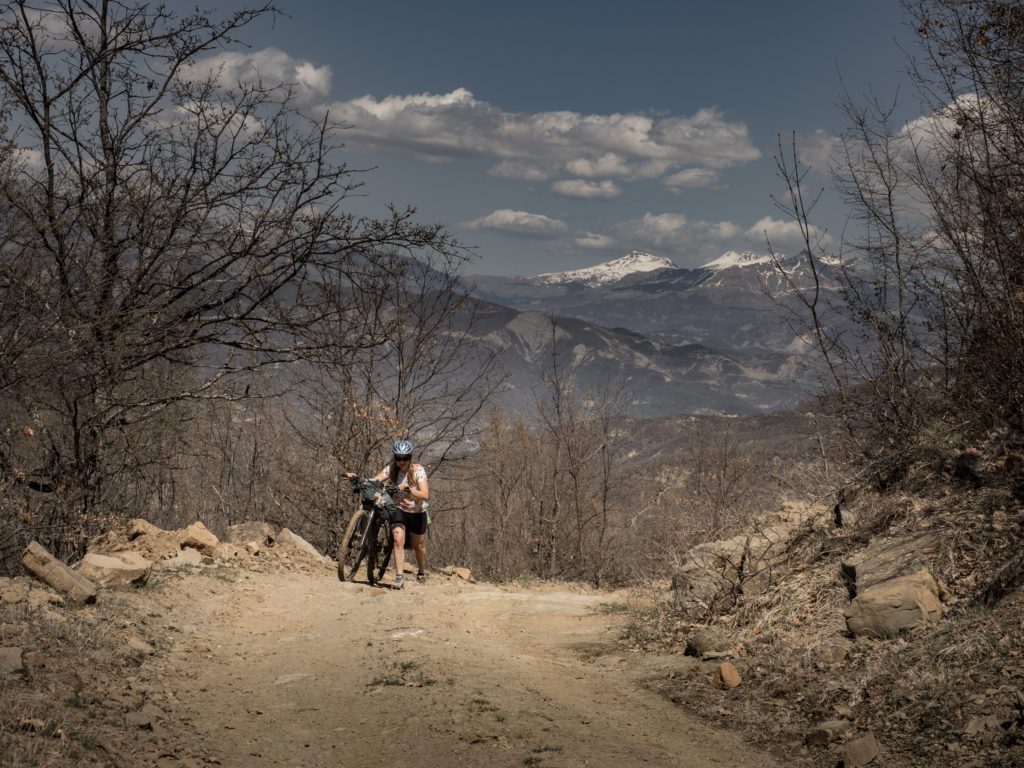
How to take pictures of yourself when bike touring solo?
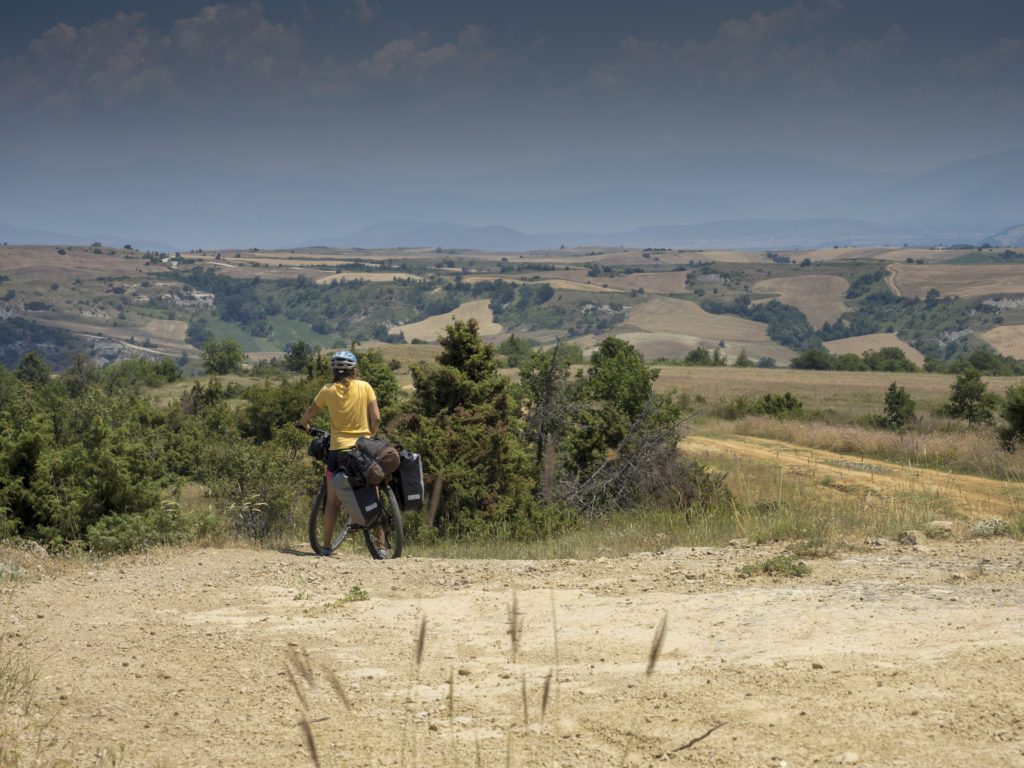
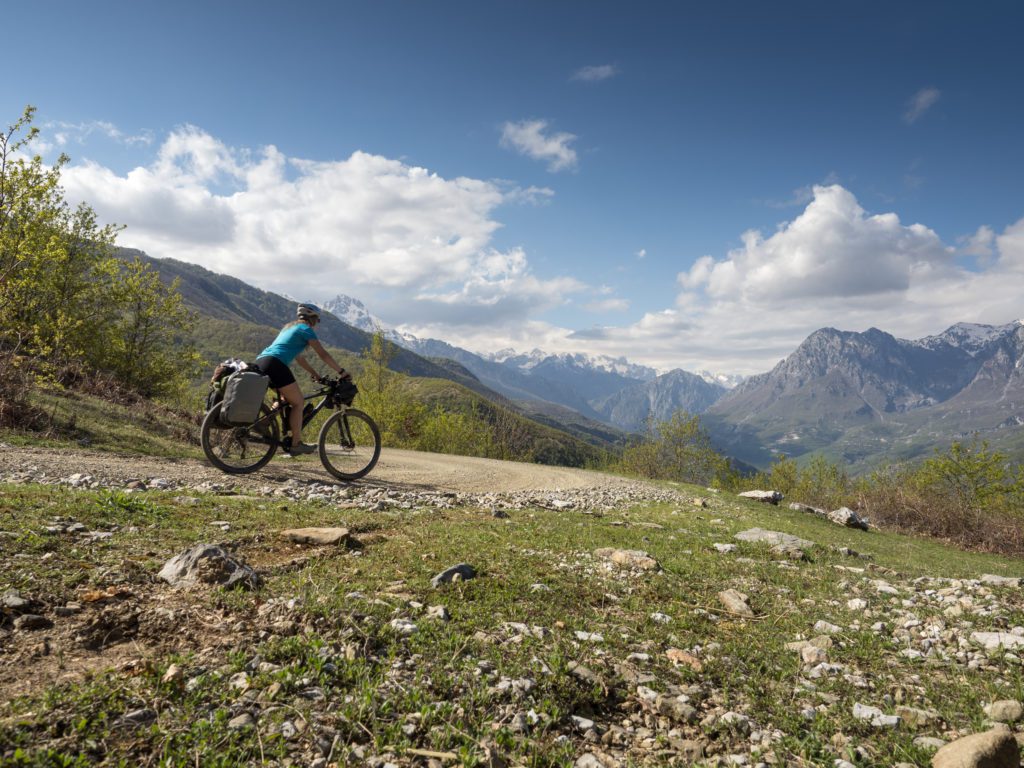
It’s easy to bring good bike touring pictures when you travel with someone. There is always someone to capture your face in absolute ecstasy after finding the first shop in 40 kilometres and finally munching on a Snickers bar.
Things get complicated when you travel on your own. It’s easy to find yourself bringing just a bunch of landscape photos, some shots of your bike and a few front-camera selfies of your sweaty face.
But it doesn’t have to be this way. Last year, I committed to putting more effort into getting more high-quality and captivating photos from my solo trips.
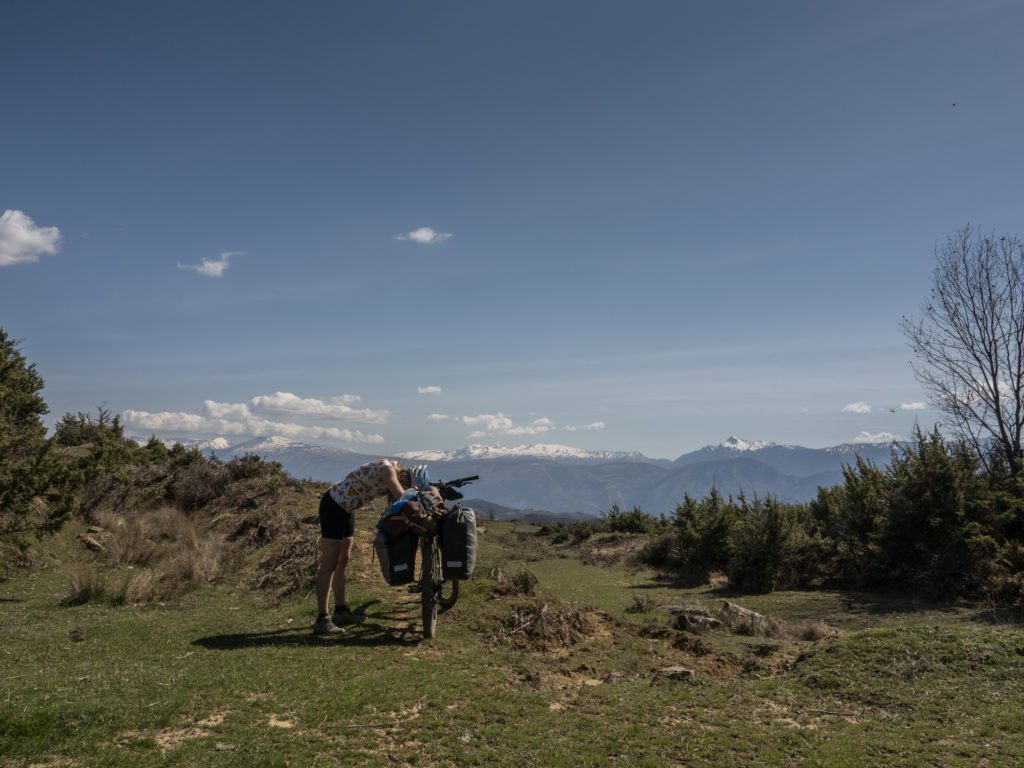
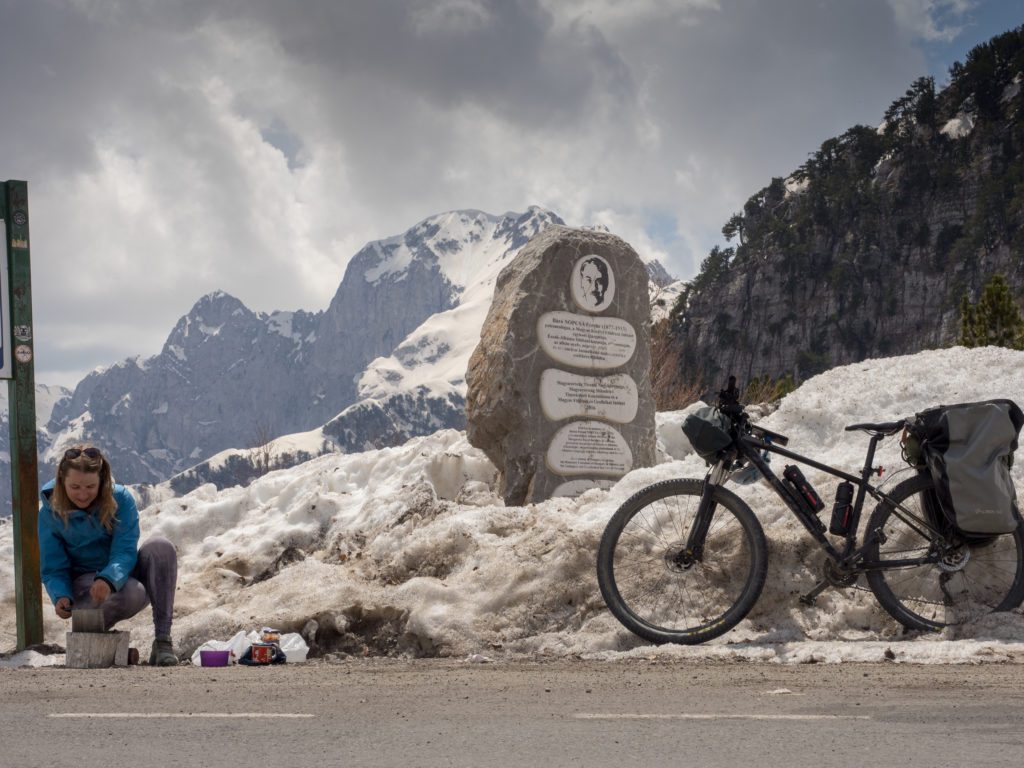
Get a tripod
No matter if you use your phone or a fancy camera to bring cycling photos from your solo trip, you need a tripod. Finding a good tripod for a bicycle tour can be a challenge. Many professional ones are bulky and heavy, and every extra gram on your bike feels like a drag.
Luckily, in most situations, a low-budget light tripod or a compact flexible tripod (also known as gorilla pod will do just fine for your regular bike touring self-portraits.
Gorilla Pod / Flexible tripod
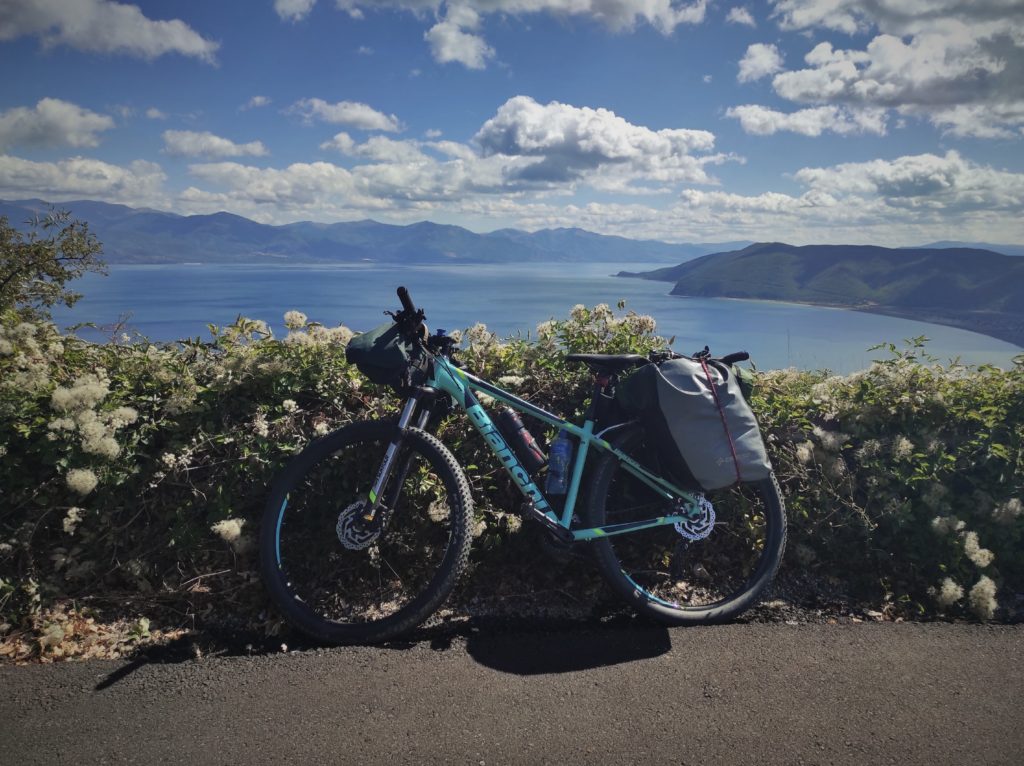
If you want to bring down the weight and size of the tripod as much as possible, consider a flexible tripod. I used to carry one attached with straps to my handlebar, making it super easy to reach. You can also bend its legs around your frame!
The biggest advantage of this kind of tripod is that you can attach it to a tree, a signpost or whenever you want, which can create an unusual angle. Unfortunately, the height is not adjustable. If there are no trees, poles or walls, you’re doomed for a low perspective.
I used to have a LURK® 3 in 1 Flexible Octopus Tripod, but I wouldn’t recommend it. I only used it for 1,5 years before one of the legs broke, making it completely unstable.
Most gorilla pods cannot carry heavy weight and only work with smartphones. I recommend a traditional tripod if you use a mirrorless or DLSR camera.
Traditional tripod
Before choosing a tripod for your bicycle tour, ask yourself about your priorities. Am I going to use the tripod only for photography or also for filming? Is it just to take some shots of myself on a bike or also for astrophotography of the night sky when wild camping? Will I use the tripod after the trip as well? What’s the weather like in the areas where I travel? If you expect wind and storms, consider spending more money on a more solid and heavier tripod. Same if you plan to do some astrophotography.
One of the most important specs you have to look at is the folded size: you don’t want anything too long to comfortably carry on your bike. Another one is the total weight and the max load: if you have a heavy DSLR, you need a sturdier tripod.
Some modern tripods have extensions that allow you to use the tripod with your phone or GoPro.
I use Camrock CP-530 – a compact and lightweight tripod which wouldn’t stand harsher conditions but cost me a bare 22 euros. It’s easy to set up, has a decent height range and allows me to take good biking selfies with little effort.
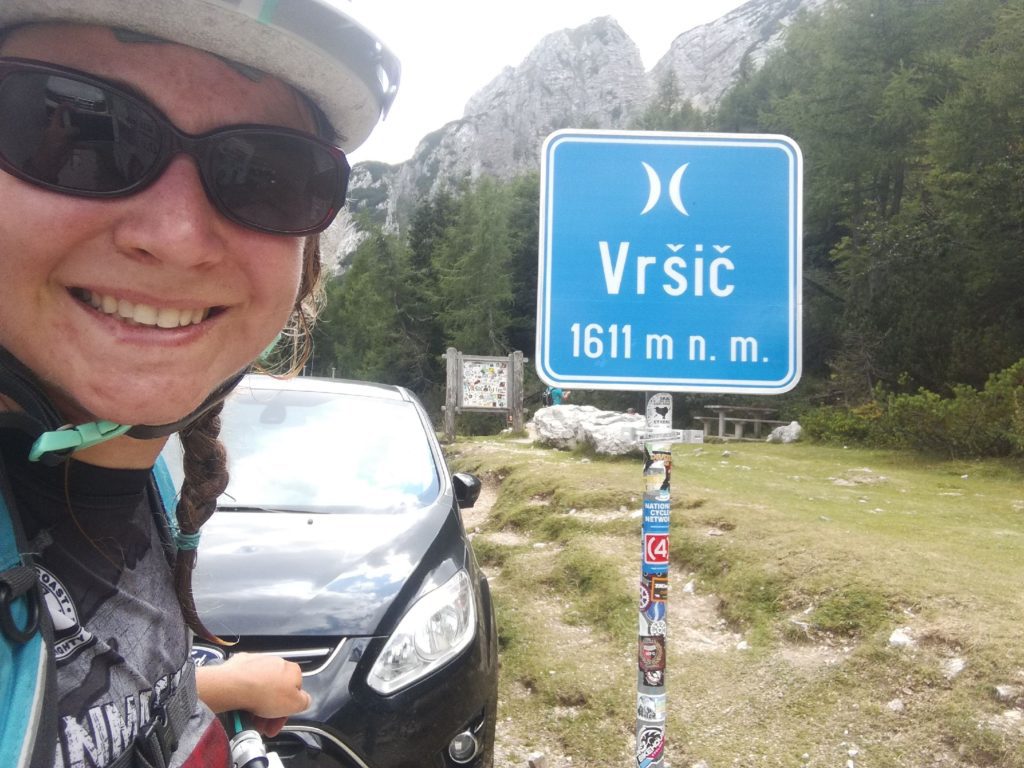
Stop feeling cringy about taking photos of yourself
At first, taking pictures of myself felt super cringy. Getting off the bike to set up a tripod and the timer on your camera, running back to your bike and cycling a few metres to get that cycling shot and then running again – it has nothing to do with authentic cycling photos, I was telling myself. I thought these photos were fake and staged and just one big lie.
But at some point, I shifted my mindset. There is no way to capture the moment without interrupting it with the tripod-bike-tripod race, I realised. I had to accept that. It doesn’t matter the photos are staged as long as they reflect reality as closely as possible.
Prepare for some additional workout
As I mentioned before, taking photos of yourself requires quite a lot of running back and forth. It’s not easy, especially if you have a heavy bike and are in rough terrain. You have to develop a quick reaction and figure out optimal camera and timer settings.
One or two shots are often not enough, even when taking photos of someone else. Sometimes you have to retake the picture multiple times to get a satisfying result.
It is even more challenging when you’re both your model and photographer.
Countless times I would set everything up, run to my bike, and get five or ten serial shots only to find out that I have something on my face. Sometimes I am not in the right part of the frame on either shot or look like a disappointed sweaty hippo in all the pictures.
Remember: on Instagram and travel blogs, you only see the best photo of the series of out-of-focus, awkward-looking and poorly composed pictures.
If you plan to take pictures of yourself on a solo bicycle tour, get ready for some extra workout, plan additional time for photo sessions and be patient.
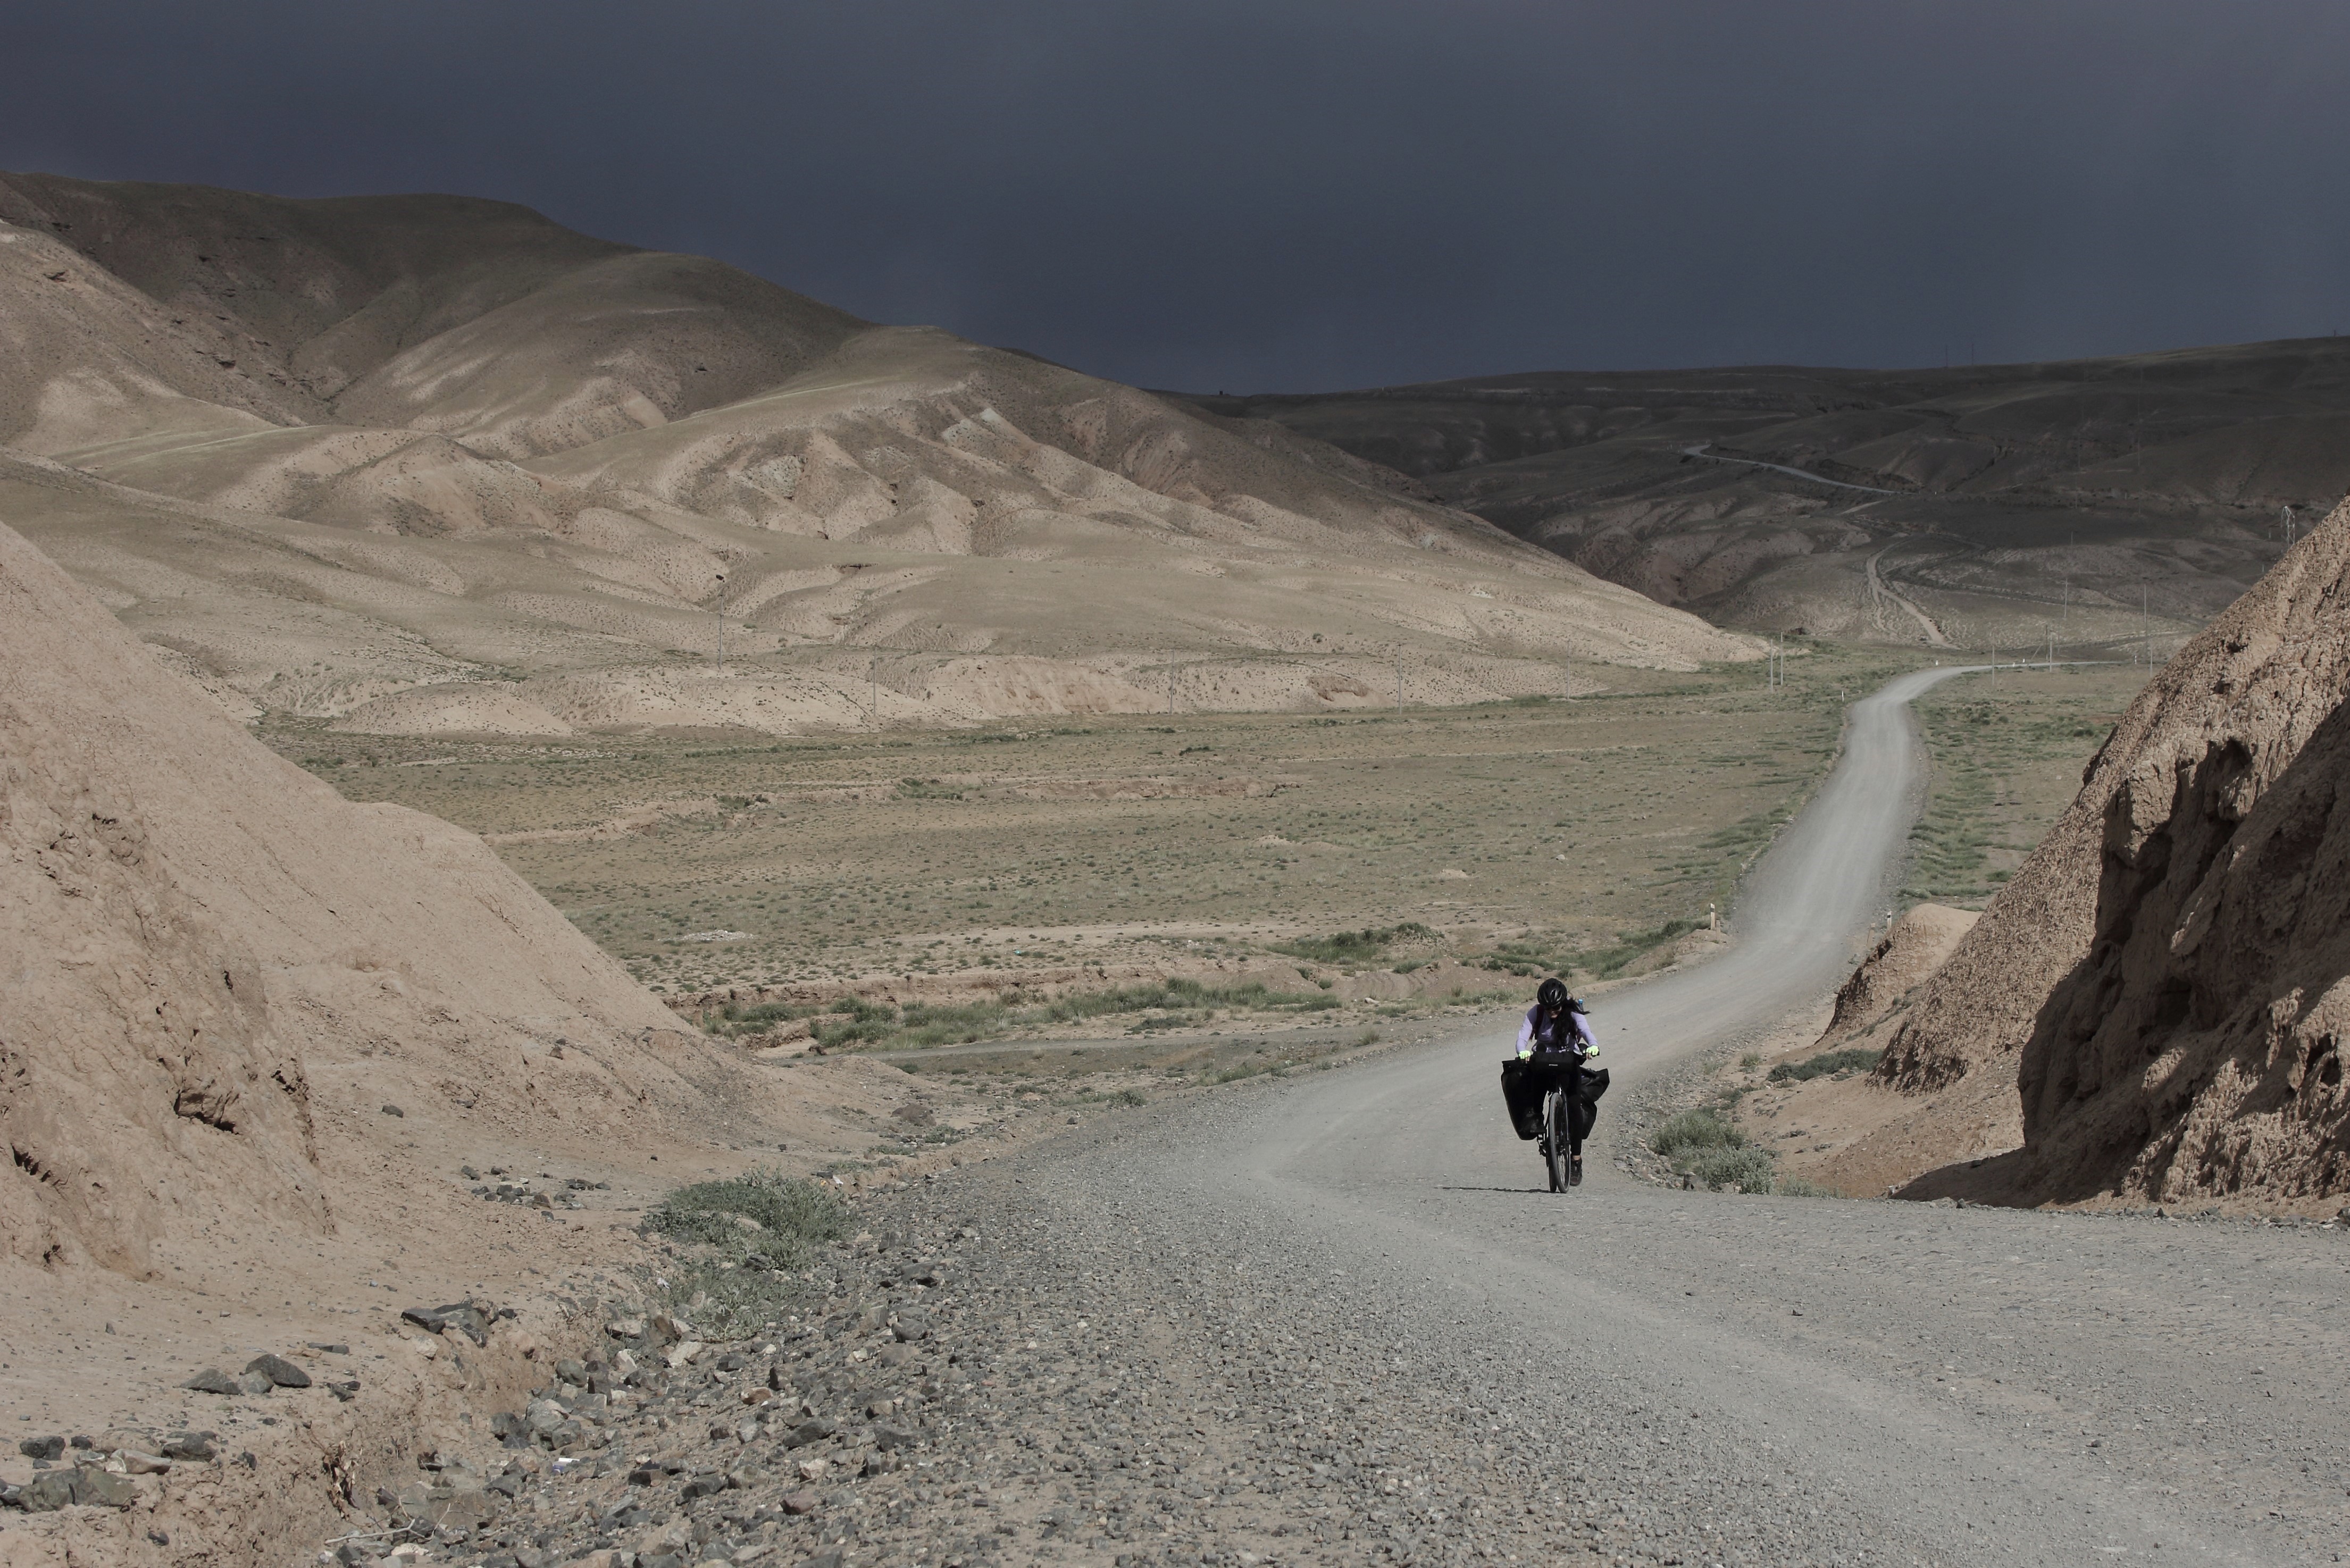
10 tips for better bike touring shots
Keep the camera handy
To take better photos, you have to make it easier for yourself. I used to travel with my DLSR Canon camera stored in my backpack.
Every time I wanted to take a simple photo, I had to do four additional steps: get off my bike, park my bike, open my bag and get the camera out. This successfully discouraged me from even grabbing my camera. I would take a quick shot with my phone (which didn’t have the best camera) or give up completely.
Right now, I have my mirrorless camera always strapped across my shoulders. It is not the most comfortable solution, and I feel it on my back, but at least the camera is already there when I need it. I no longer miss out on time-sensitive shots and am keener on taking pictures.
I am now looking for a more comfortable and ergonomic camera strap to reduce my back problems. If you have any suggestions, I’d be grateful if you drop them in the comments!
Learn the camera settings and the basics of good composition
You don’t need to have ambitions to become a pro to benefit from a crash course in photography. Knowing how aperture, shutter speed, and ISO affect one another gives you more control over the result. Learning the principles of composition helps you create a picture that captures the eye.
There are many quick photography courses on Skillshare, including the basic principles of photography, smartphone photography, outdoor photography and travel photography. The instructors on Skillshare teach in a very accessible way. The courses are less than two hours long but loaded with information and practical tips that will quickly improve the quality of your photos.
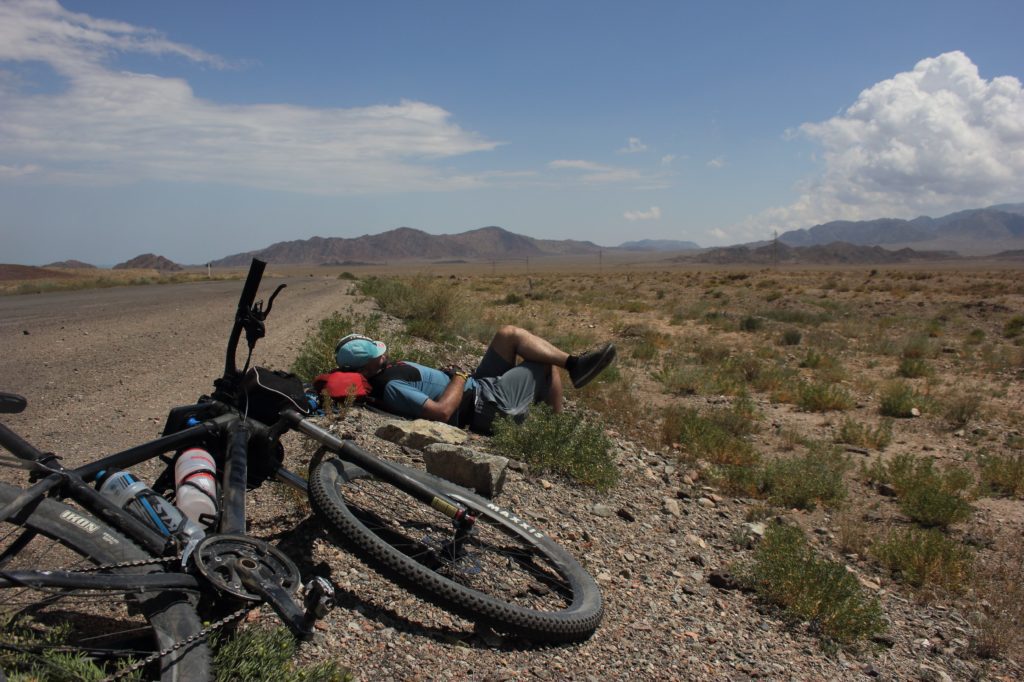
Shoot the moments you don’t feel like shooting
When you struggle on an unrideable road, the weather is absolute shit, or you’re thinking about quitting it, grabbing your camera is the last thing that comes to mind. But if you push yourself, you will end up with an authentic and emotional photo report and not just a collection of pictures of happy you on a bike on a sunny day.
Think about what story your photographs together will tell. You want to show all aspects of your trip, not just the beautiful landscape and happy faces.
Try from another angle, from another side. Come closer, go further – experiment
This is an aspect of photography I struggle with the most. I am terribly impatient and would like photography as simple as stopping, taking your camera, directing the lens towards the object and shooting.
But the most obvious angle is usually the least interesting one. Walk around to see if you can find a better spot a few meters away. Try to shoot from above, from below, from behind something. Be creative, experiment. The best photographs show the world from an unexpected angle, different from how most people see it.
Add an extra layer
Do you know that feeling when you’re showing people your trip photos and every other one you have to say: the pictures don’t give it justice, it was so much more beautiful in reality?
Does everything look flat and dull in your photos?
It’s not easy to change it. In the end, in real life, you are immersed in a landscape with all your senses. You see it, inhale the smells surrounding you, feel the cold wind or sun rays on your face, and hear the calling of the birds. Photography only revokes one sense and is one-dimensional, while the real world is in 3D.
The best way to fix it and improve your photographs is to add an extra layer to make the picture more dimensional. You can find an item close to you and put it in your frame instead of just having a wide-angle view of the landscape.
Look for things that create a natural frame, like tree branches, bridge arches, or shoot through a window.
Give context
To make your pictures tell a story, it’s good to include some elements for context. For example, a cycling helmet next to the beautiful flowers on a mountain meadow suggests you have biked there. Your clothes hanging on a tree branch next to your tent show a glimpse of your daily routine.
Use reflections, shadows and patterns
An easy way to make your photographs more intriguing is to look for reflections, shadows or repeating patterns. The human eye likes symmetry and repetition.
Think with light
Photography is the art of painting with light. To create better pictures, you need to observe and understand how light affects them and how to use natural light.
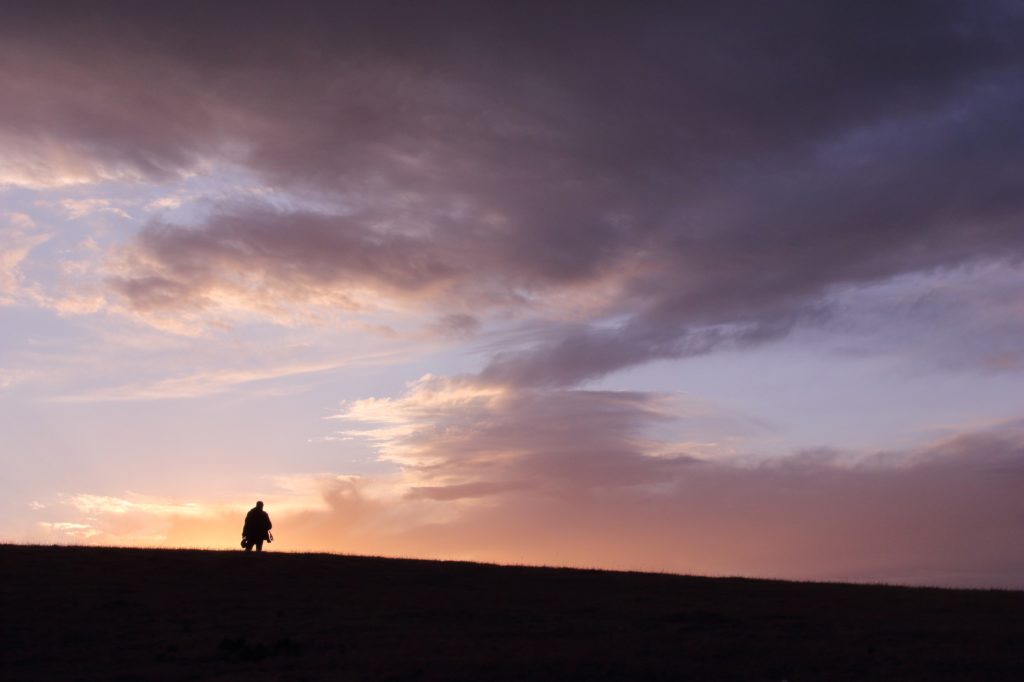
It’s usually easiest to achieve spectacular results, warm colours and pleasant, soft light during the golden hour: shortly before and after the sunset or sunrise. The sky becomes red or orange, and the shadows aren’t as sharp as in the middle of the day.
At least some days, start cycling early or have a long day and finish after sunset to have a chance to take some biking shots in the golden light. Just check the forecast before – it won’t be worth waking at 5 am if it’s gonna rain!
First look, then shoot
I’ve got thousands of pictures taken impulsively. Looking at them, I no longer know what I was trying to show: whether the snow-capped peaks in the background, the vibrant flowers on the ground or maybe the bendy line of a mountain road.
When you arrive at a scenic spot, control the urge to grab your camera instantly. Look around, inhale the air, and think about what in the scene appeals to you, what makes you want to immortalise this moment on your camera.
Before clicking the shutter button, think about the primary elements of your photograph. What emotions do you want to trigger when people look at it? Why are you taking a picture now?
This approach will result in better pictures and give you time to appreciate the beauty around you.
But don’t waste your time thinking if a situation is dynamic
In some situations, you have no time to waste. A deer crossing your path and disappearing within five seconds, a woman in a colourful dress walking right in the middle of the city gate, or a rare butterfly taking a break on your pannier – in these elusive moments, you have to be quick. In the end, it’s better to have an imperfect photo of a one-of-a-lifetime moment rather than no photo at all.
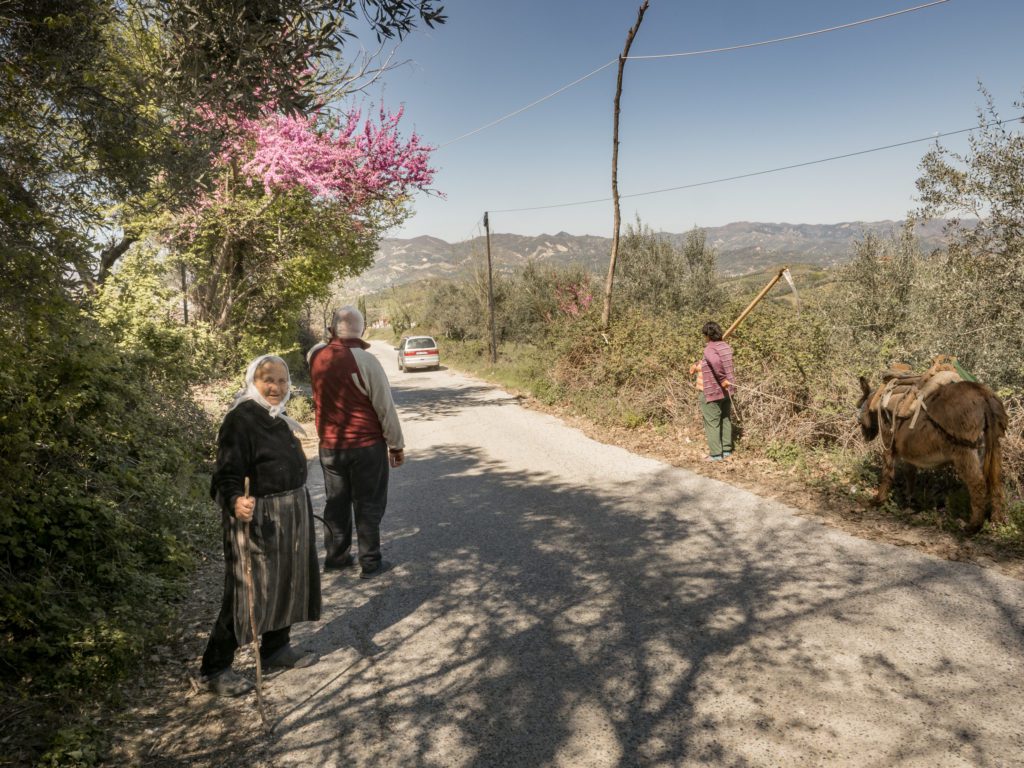
Don’t only photograph the exotic. Capture the mundane life too
It’s a natural itch to point your camera towards the most exotic, strange and unfamiliar things, to the most colourful elements of the new reality surrounding you. But don’t overlook the ordinary details of daily life.
There are two aspects to that.
The first one is your daily routine. What might seem the most normal thing to you will look fascinating to people at home. Are you changing the brake pads? Take a picture! Eating pasta every day? Photograph your bowl with the surrounding landscape in the background. Those details make your story more personal and real.
Another aspect is the daily life of the locals. Cycling gives you an exceptional opportunity to slowly travel through small villages and towns and observe things tourists travelling by car, bus, or train will not catch. Take advantage of it! Stop on the main square and capture people walking with their groceries.
Photograph fishermen by the sea, shepherds in the mountains and regular passers-by in the towns.
Ask people’s permission if you photograph them
Asking permission to take a picture of someone is not only polite. It can also result in much better photos than trying to be a camera ninja.
Establishing a personal connection with a person before photographing them will make them feel comfortable. You’ll see it in the pictures.
Learn from the best
To be a better writer, you need to read. To be a better photographer, watch other photographers’ works. Take a minute to mindfully look at the pictures: what draws your attention to this piece? Which techniques did the author use? At what time of the day was the photo taken? What is the composition? How is this photograph different from other shots from the same location?
In the times of Instagram, many people follow the same trends and copy each other ideas. Don’t limit yourself to this platform. Check out the pictures of the old masters: Ansel Adams, Henri Cartier-Bresson or Garry Winogrand.
Look at photos published in the National Geographic magazine. You might never achieve their level, but you can always learn something from them.
Don’t limit yourself to travel photography or cycling photography. Every other genre can teach you something too.
Here are some of my favourite bike-touring and travel photographers:
Hola Joanna.
Great post on photography. Re: batteries. I usually try and carry 2-3. Maybe you know this but I learned that original equipment manufacturer ie Canon Nikon batteries last longer then Chinese copies. And you can’t ship replacement Li-ion batteries air freight.
Chest straps. This is my favorite professional shop in New York City. https://www.bhphotovideo.com/find/HelpCenter/International.jsp They have everything. Your in Europe though. Should be pro shops there.
Ansel Adams. Definitely influenced me. Especially his iconic works in Yosemite National Park in my country. That would be a great bicycle tour. East side Sierra Nevada mountains opposite YNP[West side].
Started photography with SLR’s and switched to DSLR about 6 yrs ago for African safari. But still have some great 10 yr old color prints from my analog SLR’s.
How do you like your mirrorless camera?
Feliz viaje
Dennis
Hi Dennis,
Thank you for your comments and your tips, I have checked out the shop you recommended and they really do have everything! I already found a few accessories I liked and maybe I’ll find some retailers closer to home who has the same brands.
I definitely agree about the batteries, carrying 1 or 2 spares is always a good decision.
Definitely would love to bike in Sierra Nevada and Yosemite one day, an US bike tour has been on my mind for a while.
You’re right, analog photos have something unique that the digitals don’t have. I massively enjoyed when we were photographing with analogs during my photography classes at the university, developing your photos in the real darkroom feels like magic!
I am very content with my mirrorless camera – it was a good upgrade from my old canon!
All the best,
Joanna
Pingback: De perfecte fiets voor natuurfotografie expedities – Floravanstek.nl